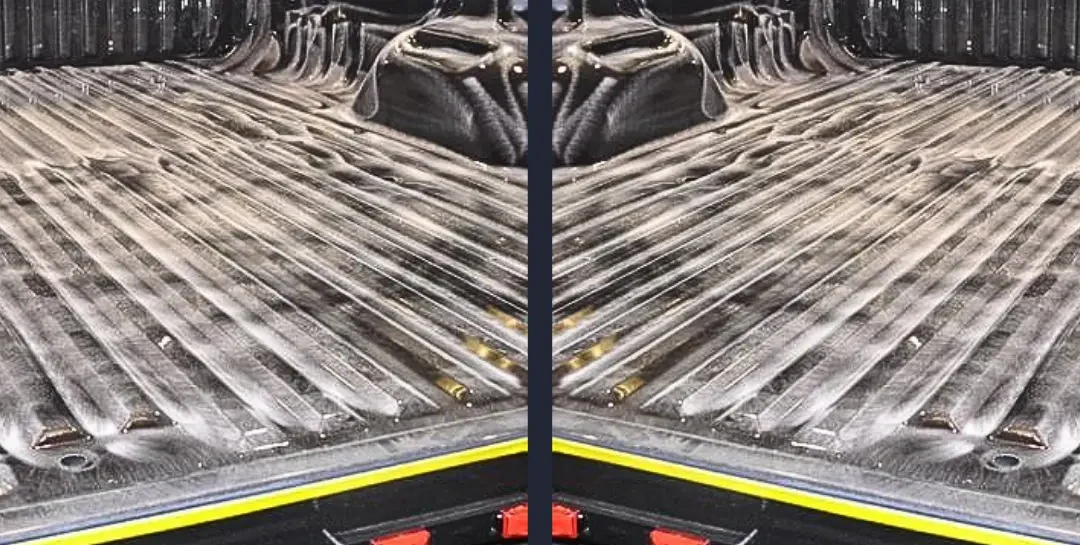
In order to obtain a permanent bond of the Rhino Linings® spray-on liner to the pickup truck bed, bumpers, fenders, or body panels, it is necessary to sand or scuff the paint finish within masked boundaries. An efficient and thorough prep job is vital in order to ensure maximum adhesion.
The Basics
This operation is accomplished using 60 to 80 grit sandpaper on an auto body dual action (DA) sander or using a Rhino Linings abrasive cup brush. Confined areas which cannot be easily reached using power tools can be prepared by hand using 80 or 100 grit sandpaper or a coarse scuffing pad, like Scotch-Brite™.
Critical areas to be sanded or scuffed must include all edges at the tape lines. If there is weak adhesion at the end of a bed liner, it could begin peeling in that location and compromising the rest of the liner. Sanding and scuffing should take place only after the vehicle is masked with paper attached and the surface has been thoroughly cleaned with acetone.
- Masking tape and paper protects the vehicle against damage from hoses or electric cords, grit or sparks, and product overspray. It also defines the areas to be prepped.
- Cleaning is done prior to sanding or scuffing to prevent contaminants from being ground into the painted surface and to keep abrasive cup brush or sandpaper clean.
Replace Old Cup Brushes
Your cup brush me be inspected for overuse and poor brush memory. If the the brush has poor memory (flattened out) and/or is not able to remove the topcoat easily, it should be replaced. Be sure to use a buffer/grinder with variable speed to spin the cup brush at 1500 rpm or less. This keeps the bristles from flaring straight out and ruining the brush.
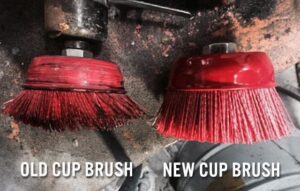
Keep a steady stock of cup brushes in your shop. To purchase replacements, visit the Rhino Linings Webstore.
Damaged and Rusted Surfaces
On vehicles with rust, peeling paint, or hardened residues, it is necessary to use an auto body electric or compressed air powered grinder to remove these potential problems.
Use a coarse grinding disc (24 to 40 grit) to provide a bright, bare surface. This may be limited to a few areas within the bed or the entire bed may require grinding to remove all rust.
It is important to protect glass and plastic before grinding takes place. Sparks from grinding may burn pits into unprotected glass and plastic. Use additional paper or plastic film to protect cab rear window protruding tail lamp lenses and vehicles parked nearby.
After sanding, scuffing or grinding, vacuum or blow using compressed air dust and grit from truck bed, paying special attention to seams and drain holes. At this point, solvent wipe with acetone and clean, unused cotton rags. For further information on this step, refer to our cleaning Technical Reference Manual section.
Don’t Forget to Prime
Remember that all bare metal areas must be primed for optimal adhesion! Refer to our Primer Data Sheets for substrate preparation and visit the Rhino Linings Webstore to order the right primer for the job.