Removable Drum Head Procedures

Removable Drum Head Procedures

How to Replace and Prepare a New Resin Drum (Step-by-Step Guide)


Swapping out a resin drum sounds straightforward — but skip a step, and you risk poor mixing, pump issues, or inconsistent output. This guide walks you through exactly how to replace a resin drum on your machine, from positioning the new drum to getting your pump back up and running.

Follow these three steps and you’ll have your new drum properly seated, mixed, and ready to go. You’ll also find the tools you need listed at the end, along with a time-saving tip about the removable drum lid setup.


What You’ll Need Before You Start


Gather these tools before getting started so you’re not hunting for anything mid-process:

  • ½” electric chucked power drill
  • 50-gallon Jiffy Mixer (PS-2 model)
  • 13mm socket and impact gun
  • 5-gallon bucket


Step 1: Position the New Resin Drum


Place the new resin drum on the B-side of the machine — that’s the blue label side. Once it’s in position:

  1. Use your 13mm socket and impact gun to remove the bolt.
  2. Slide the collar down the drum.
  3. Remove the lid.

With the lid off, you’re ready to move on to mixing.


Step 2: Hand Mix the Resin Thoroughly


This step is critical. Resin settles during storage, so the solids sink to the bottom of the drum. Before the drum goes into regular use, you need to bring all of that settled material back into suspension.

Using your ½” drill with the Jiffy Mixer attached, mix from the bottom of the drum upward. Work thoroughly for 5 to 10 minutes — don’t rush this part.

Once you’re done mixing:

  1. Unplug the drill.
  2. Wipe the excess resin off the Jiffy Mixer.
  3. Place the Jiffy Mixer in the 5-gallon bucket and set it aside.

Important: Hand mix every new resin drum before its first use. After that first use, daily agitation is all you need — no more hand mixing required.


Step 3: Reinstall the Drum Pump and Recirculation Lines


Now that the resin is properly mixed, it’s time to get the drum connected and ready for operation.

  1. Reinstall your drum pump and recirculation lines into the new drum.
  2. Bring the collar back up and tighten the bolt using the same 13mm socket and impact gun.
  3. Run the agitator for 30 to 45 minutes to complete the mixing process.

At this point, your drum is fully set up and ready to run.


The Removable Drum Lid: A Time-Saving Feature Worth Knowing

One of the standout benefits of this setup is the removable drum lid system. Because the drum pump and recirculation kit stay permanently attached to the lid, you never have to disconnect and reconnect everything when switching drums.

Instead, you simply swap the entire lid from one drum to the next. It’s a small design detail that saves real time during drum changes and reduces the risk of connection errors.


Quick Recap

Here’s the process at a glance:

  • Step 1: Position the drum on the B-side, remove the bolt, collar, and lid.
  • Step 2: Hand mix for 5–10 minutes, then clean and store the Jiffy Mixer.
  • Step 3: Reinstall the pump and lines, tighten the collar, then agitate for 30–45 minutes.

Hand mixing is only required for new drums before first use. After that, daily agitation keeps the resin in suspension. Stick to this process and your equipment will run cleanly and consistently every time.

Graco® Fusion Gun Maintenance Tips to Prevent Bed Liner Issues

Graco® Fusion Gun Maintenance Tips to Prevent Bed Liner Issues

Graco® Fusion Gun Maintenance Tips to Prevent Bed Liner Issues

Skipping routine maintenance on your Graco® Fusion gun is one of the fastest ways to run into costly problems — from locked-up guns to blistered bed liners. The good news? Two simple checks can prevent most of these headaches before they start.

In this post, you’ll learn:

• How to test your gun for internal leaks before they cause damage
• How to protect the gun nozzle from humidity during shutdown
• Where to get certified Graco products, parts, and expert support

Whether you’re a seasoned installer or newer to spray-on bed liners, adding these steps to your routine will extend the life of your equipment and keep your applications looking clean.

Why Graco® Fusion Gun Maintenance Matters

Your Graco® Fusion gun handles two reactive chemicals under high pressure. When the internal components are even slightly compromised, those chemicals can mix where they shouldn’t — causing gun lockups, poor spray patterns, and blistering on the finished liner.

Most equipment failures don’t happen all at once. They start with small, ignored warning signs. The two tips below target those early warning signs directly.

Tip 1: Check Your Gun for Internal Leaks

Internal leaks are one of the most common causes of Graco® Fusion gun failure, and they’re easy to miss if you don’t know what to look for.
How to Test for a Resin-Side Leak
Turn off the fluid valves below the gun.

1. Pressure up your machine.
2. Turn the air to the gun on, then slowly crack the resin valve.
3. Watch for a mist of air and resin coming from the valve. (It is almost always the side seals part with *issues.)

*Issues that can occur from side seals:
-Defective or wrong size O-Ring installed
-Gunk not removed in O-Ring seat area
-A scratched mixed chamber

What you want to see: clean air only.

What it means if you see mist: you have an internal leak on the resin side. Stop immediately, close the valve, bleed off the machine pressure, and fix the gun before using it again.

How to Test for an ISO-Side Leak

Once the resin side checks out, repeat the same process on the ISO side. ISO leaks are especially serious — if any ISO enters the airstream, stop the test right away.

An ISO leak inside the gun needs to be repaired before your next job. No exceptions.

Why You Can't Ignore Even a Small Mist

It’s tempting to push through when you’re on a deadline. But that fine mist of resin or ISO can land on the liner during application and cause blistering. It can also travel back into the gun’s internal components, causing premature wear and eventual lockup.

Other signs of an internal leak to watch for:
• Gun grease that looks hard, crusty, or discolored
• Frequently having to rebuild the gun — especially after long weekends or extended downtime
• Inconsistent spray patterns that weren’t there before

If any of these sound familiar, a leak test should be your first step before the next application.

Tip 2: Seal the Gun Nozzle After Every Shutdown

This tip takes about 30 seconds and can save you a significant amount of trouble down the line.
How to Properly Shut Down Your Graco® Fusion Gun
After your last spray of the day, give the gun a small shot of gun grease as part of your normal shutdown process. Then, take a little extra grease and smear it directly over the gun nozzle to create a seal.

That’s it.

Why This Simple Step Matters
The nozzle is an open entry point when the gun is sitting idle. Humid air can travel through the nozzle and come into contact with the ISO inside the gun. ISO reacts with moisture. The moisture in ambient air combined with that reaction can cause buildup, blockages, and internal damage over time.

Sealing the nozzle with grease cuts off that pathway entirely. It’s a low-effort habit that protects the gun between uses, especially in humid climates or during seasonal storage.

Common Maintenance Mistakes to Avoid

Even experienced installers can fall into habits that shorten the life of their equipment. Here are a few things worth checking against your current routine:

• Skipping the leak test before a job — A quick check takes minutes. A locked-up gun mid-job takes much longer to fix.
• Not greasing the nozzle at shutdown — This is easy to forget, but the consequences build up over time.
• Ignoring subtle signs of wear — Hard grease, frequent rebuilds, and mist during testing are all early warnings worth acting on.
• Using non-certified replacement parts — Off-brand or incompatible components can affect performance and may void warranties.

Get Certified Graco Products and Parts Through Rhino Linings

Rhino Linings is a certified distributor of Graco products and parts, which means you have direct access to genuine components, proper replacements, and expert guidance all in one place!

When it’s time to rebuild your gun or replace worn parts, using certified Graco products ensures you’re restoring your equipment to factory specifications. That matters for spray quality, chemical compatibility, and the long-term reliability of your setup.

If you’re not sure which parts you need or you’re troubleshooting an issue you can’t identify, the Rhino Linings technical support team is available to help.

Keep Your Graco® Fusion Gun Running at Its Best

Two checks — a leak test and a nozzle seal — are all it takes to stay ahead of most common Graco® Fusion gun problems. Build them into your routine, and you’ll see fewer equipment failures, better spray results, and longer intervals between rebuilds.

Your next step: Add both of these checks to your shutdown checklist starting today. If you’re already seeing signs of a leak or grease buildup, reach out to the Rhino Linings technical support team before your next job.

Have a question about your spray gun or equipment? Contact the Rhino Linings technical support team directly. If there’s a specific maintenance topic you’d like covered in a future article, send your suggestion to rhinomarketing@rhinolinings.com.


Rhino Linings is a certified distributor of Graco products and parts. For replacement components, equipment support, or technical questions, contact your local Rhino Linings representative.

Need More Technical Tips?

Feel free to reach out to the Rhino Linings technical support team with any questions about your spray gun or other equipment. Or, if you’d like to see a specific topic addressed in a future technical article, email rhinomarketing@rhinolinings.com.Quick

Cold Storage of Closed Cell and Open Cell Foam

Cold Storage of Closed Cell and Open Cell Foam

Cold Storage of Closed Cell and Open Cell Foam: How to Protect Your Materials This Winter 


Cold weather doesn’t just make jobsites uncomfortable — it can quietly ruin your spray foam materials before you ever pull the trigger. Proper cold storage of closed cell foam and cold storage of open cell foam in barrels is one of the most overlooked factors in consistent, high-quality applications. Get it wrong and you’re dealing with off-ratio sprays, poor adhesion, and wasted product. 

The right storage temperatures for each foam type, how to prep your equipment, and the most common cold-weather mistakes that cost contractors time and money are discussed below. 


Why Cold Storage Conditions Matter for Spray Foam 


Spray foam chemistry is temperature sensitive. When material gets too cold, viscosity changes — meaning the resin and isocyanate don’t flow, mix, or react the way they should. The result? Poor cell structure, weak yields, and off-spec foam that fails in the field. 

Getting your storage conditions right before you ever load the gun is the first line of defense. 


Cold Storage of Open Cell Foam in Barrels 


Ideal Storage Temperature 


Open cell foam stores best between 60–90°F. This is a higher range than most people expect, and it’s worth paying close attention to — especially when barrels sit in an unheated trailer overnight. 

When material drops below this range, it becomes harder to process and harder to heat evenly at the machine. 


Spray Temperature Targets 


  • Target spray temps of 115–150°F, adjusting based on ambient temperature and how the foam is performing on the substrate 
  • Possibly use a smaller mix chamber to keep material in the heater longer, giving it more time to reach the right temperature 
  • Monitor how the foam looks as it hits the surface — visual cues tell you a lot about whether your temps are dialed in 


Practical Tips for Cold-Weather Open Cell Jobs 


  • Use barrel blankets to maintain drum temps in cold trailers or job sites 
  • Use space heaters to warm both the substrate and the rig area before spraying 
  • Check substrate temps with an infrared thermometer before starting — cold substrates pull heat out of the foam immediately 
  • Never use open flames in the spray area 


Cold Storage of Closed Cell Foam 


Ideal Storage Temperature 


Closed cell foam stores best between 50-90°F. Closed cell material is more sensitive to temperature swings in a different way — getting too cold thickens the resin side significantly and throws off your mix ratio if you don’t compensate. 


Spray Temperature Targets 


  • Target around 120-130°F as your baseline spray temperature 
  • For colder days or cold drums, increase the resin side primary heater by 3°F to offset the viscosity change — do not adjust both sides equally 
  • Add a few degrees incrementally as needed; small changes make a big difference with closed cell 
  •  

Practical Tips for Cold-Weather Closed Cell Jobs 


  • Use self-adhesive LCD thermometers directly on the drums for a quick visual read before every job 
  • Keep a quality infrared thermometer and moisture meter on hand to check both drum and substrate temps 
  • Consider applying a closed cell layer to the underside of your rig — this protects equipment and gives you a consistent test surface 


Equipment Precautions That Apply to Both Foam Types 


Cold storage conditions don’t end with the drums. Your hose is the next critical point of failure. 


Hose Care in Cold Weather 


  • Keep hose off snow, ice, and concrete — all three draw heat out faster than your machine can replace it 
  • If your hose is more than two years old, inspect the insulation carefully for cracks or breaks 
  • Address any insulation damage before the season gets cold — mid-job failures are expensive 


Temperature Monitoring Tools You Should Have 

Tool  Use 
Infrared thermometer  Check drum and substrate temps 
Moisture meter  Confirm substrate is dry before spraying 
LCD thermometers (self-adhesive)  Quick-reference drum temp at a glance 
Barrel blankets  Maintain drum warmth in cold environments 
Space heaters  Pre-warm rigs and work areas 


Common Cold-Weather Mistakes (and How to Avoid Them) 


Mistake #1: Storing drums in an unheated trailer overnight
Cold nights can drop drum temps well below your target range. Always check temps before the first spray of the day. 


Mistake #2: Adjusting both heater sides when compensating for cold
For closed cell, only raise the resin side primary heater. Adjusting both sides throws off your ratio. 


Mistake #3: Laying hose on frozen ground Even short contact with ice or concrete pulls heat from the hose quickly. Get it off the ground and keep it elevated or coiled. 


Mistake #4: Skipping the visual check
Your foam will tell you when temps are off. Stringy, inconsistent, or poorly rising foam means something needs to be adjusted before you cover that substrate. 


Mistake #5: Using open flames to warm the area
Space heaters only. Open flames near spray foam materials are a serious safety hazard. 


Quick Reference: Storage and Spray Temperatures 


Foam Type  Storage Temp  Spray Temp (Baseline)  Cold-Day Adjustment 
Open Cell  60–90°F  115–150°F  Increase spray temp; use smaller mix chamber 
Closed Cell  50–90°F  ~120-130°F  +3°F on resin side primary heater only 


Conclusion 


Dialing in your cold storage conditions is one of the simplest ways to protect foam quality and avoid wasted material this winter. Whether you’re managing cold storage of closed cell foam or cold storage of open cell foam in barrels, the fundamentals are the same: know your target temperatures, monitor your drums and substrates consistently, and adjust your machine settings deliberately. 

Start each cold-weather job by checking drum temps before you do anything else. Keep your hose off frozen surfaces. And if the foam doesn’t look right — stop and troubleshoot before covering the substrate. 

Small habits make a big difference when temperatures drop. 

Renewing Any Old Bedliner With Rhino Shine

Renewing Any Old Bedliner With Rhino Shine

Restore and Protect Your Liner’s Finish With Rhino Shine™

Over time, exposure to sunlight and the elements can cause truck bed liners to oxidize and fade, diminishing its appearance. Rhino Shine is a single-component, fast air-drying acrylic coating specifically formulated to restore the high-gloss look of any sprayed-on polyurethane or polyurea lining. This treatment rejuvenates the liner’s appearance, bringing back the deep color and sheen it had on the day of application.

In addition to bed liners, Rhino Shine provides excellent protection for other sprayed surfaces, including brush guards, bumpers, and trailer ramps. The final film offers outstanding flexibility, chemical resistance, and protection from moisture and other environmental factors, ensuring your investment maintains its integrity and look for years to come.

Product Benefits

  • Rejuvenates Appearance: Restores color and provides a high-gloss finish to old or faded liners, making them look new again.
  • Restores Shine: Renews linings from oxidation and the fading effects of UV exposure.
  • Versatile Application: Suitable for all polyurethane/polyurea sprayed-on liners and various other coated substrates.


Application Guidelines

Proper surface preparation is critical for the successful application and performance of Rhino Shine™.

  1. Surface Preparation: All surfaces must be thoroughly cleaned and free of moisture, dirt, wax, grease, and other contaminants. Use a degreaser to remove oils and grease, then power wash or thoroughly clean the substrate and let it dry completely before application.
  2. Application Method: Apply Rhino Shine with a brush, standard spray equipment, or simply wipe on
  3. Spraying: Thinning is generally not necessary, but water may be added to ensure a uniform spray pattern. The required amount of thinner and spray pressure will depend on the specific equipment used.
  4. Brushing: Apply a uniform film, with final results depending on component density and operator technique.
  5. Safety Precautions: Use in a well-ventilated area. Avoid inhalation of vapors or spray. Avoid contact with skin and eyes. Refer to the Safety Data Sheet (SDS) for detailed information before use.


Get the Full Specs Before You Spray

Want every detail on coverage, performance, and application? Download the Rhino Shine™ Technical Data Sheet (TDS) for the complete specifications you need to apply with confidence.

Download the Technical Data Sheet (TDS)


Storage

Store Rhino Shine™ in tightly closed containers at room temperature (50–100°F), away from excessive heat and direct sunlight. Before use, allow the product to equilibrate for 24 hours at 65–90°F.


Ready to Transform Your Liner?

Don’t let oxidation and fading ruin your investment. Get Rhino Shine™ today and restore your liner’s look and protection in no time.

To place an order call or email our Customer eXperience Team.

Phone orders: 800-747-6966
Email order: cx@rhinolinings.com

12 Best Tips for Spraying Top Notch Rhino Liners

12 Best Tips for Spraying Top Notch Rhino Liners

12 Tips for Applying the Best Rhino Linings® Bed Liners

Consistent, high-quality bed liner applications don’t happen by accident. They come from disciplined habits, proper equipment care, and a solid understanding of how your materials perform. Whether you’re a seasoned applicator or still building your process, these 12 practical tips will help you raise your standards, reduce job failures, and keep customers coming back.


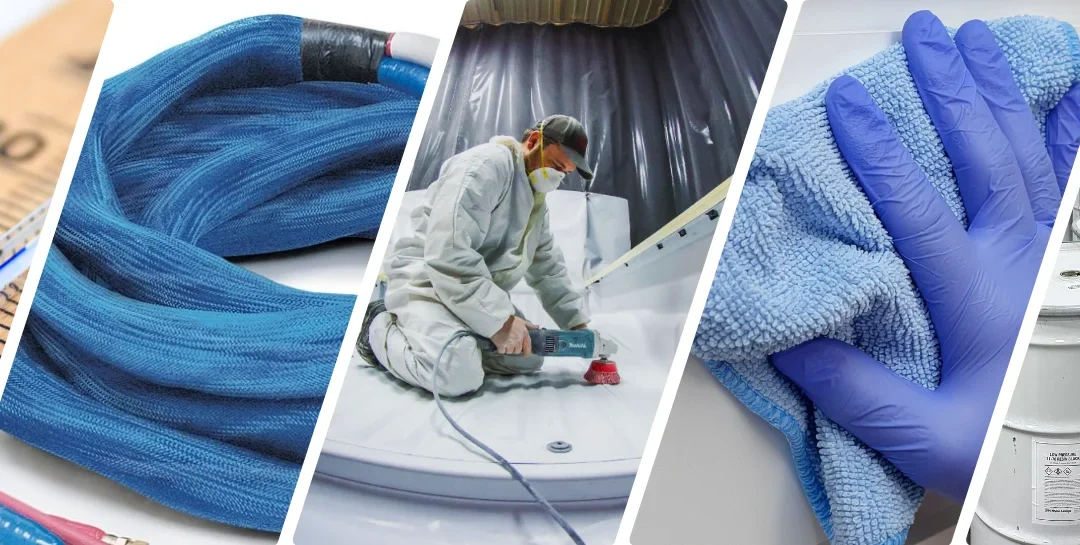
Set Your Foundation: Chemical and Equipment Basics


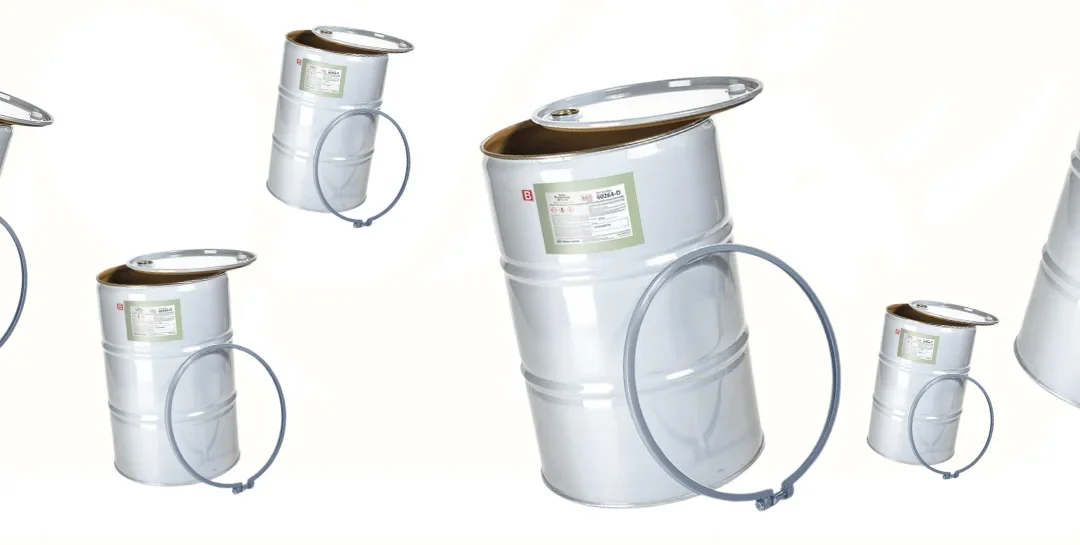
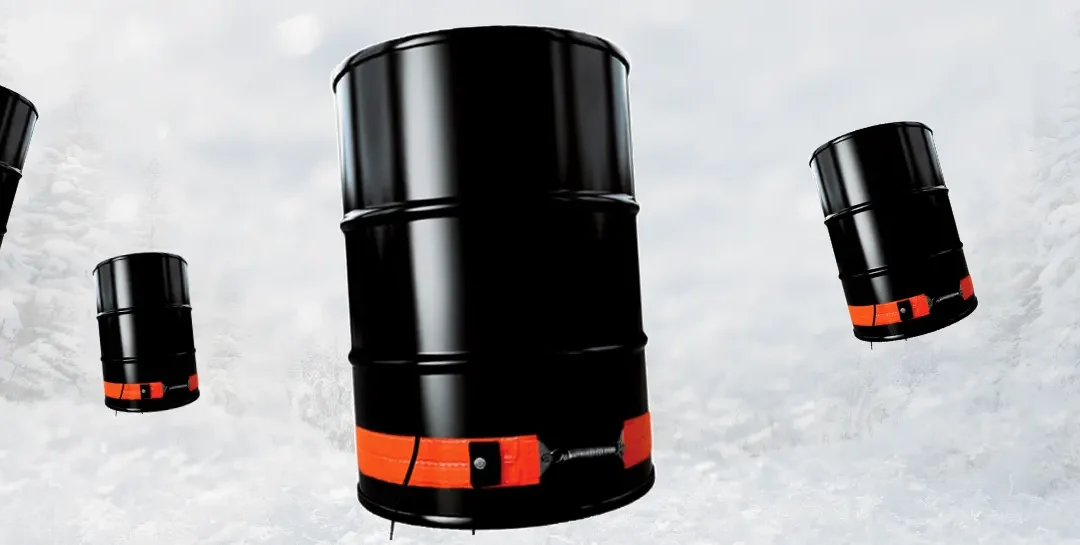
1. Store Your Chemicals at the Right Temperature


Chemical storage directly affects how your products perform on the job. High pressure chemicals and primers should be stored at 70°F. Low pressure chemicals need to be stored and dispensed at 80–85°F.

Storing outside these ranges can shorten shelf life and cause inconsistent application results. A simple thermometer and climate-controlled storage area can prevent a lot of headaches down the line.

Try this: Label your storage area with the target temperature range for each chemical type so any team member can verify conditions at a glance.


2. Wipe Down Container Lids After Every Use


Once a container is opened, contamination becomes a real risk. Always wipe lids and bung caps clean after use. For A-side products, apply a small amount of Fusion grease lubricant or petroleum jelly before sealing. This protects the product from air exposure and keeps lids from sticking or leaking.

Skipping this step can lead to degraded materials and wasted product, both of which cost you money.


3. Always Reference the Latest Product Information


Rhino Linings continually updates its formulations and best practices. Before mixing any product, check the product data sheets (PDS), safety data sheets (SDS), and container labels. Visit the Tech Center on the website for the most current information.

Relying on outdated instructions is one of the most common causes of preventable application errors. Keep your team informed.


Daily Checks That Protect Every Job


4. Run a Cup Check Before Each Spray Day


If you use a low pressure unit, run a cup check every day before spraying a truck. This confirms your ratio is within the proper range of .58–.63. You can log results on the low pressure ratio check spreadsheets available from Rhino Linings.

This quick daily check catches ratio problems early before they become costly failures on a customer’s vehicle.

Try this: Make the cup check the first step in your morning startup routine, not an afterthought.


5. Check Your TSL Bottle Every Week


The throat seal liquid (TSL) keeps your gun functioning properly. Physically inspect the TSL bottle once a week and replace it as needed. Don’t assume it’s fine because the gun seems to be working.

A depleted TSL bottle can cause tip wear and spray inconsistencies that are hard to diagnose after the fact. Rhino Linings has a technical demo video on this, SEE IT HERE.


6. Inspect All Air Lines for Moisture Weekly

Moisture in your air lines can ruin a liner. Check all membrane dryers, inline filters, and your compressor every week. Drain them as needed.

Don’t wait until you see a moisture-related defect on a finished liner. By then, the damage is done. A weekly five-minute check costs nothing compared to redoing a full application.


Product Handling That Prevents Failures


7. Recirculate Lines After Extended Downtime


If your high or low pressure unit sits idle for five consecutive working days, recirculate the lines. This brings fresh material into the spray hoses and recirculation lines before your next job.

Old, stagnant material in the lines can cause ratio inconsistencies and blockages. Build recirculation into your standard operating procedure for any equipment that sees irregular use.


8. Agitate New Drums Properly


Brand new drums should always be agitated on high speed the first time they’re opened. Chemical components can settle or coagulate during warehouse storage. The standard rule is one minute of agitation per gallon.

After that initial mix, switch to low or medium speed agitation for regular use. If a drum doesn’t contain pigment, mix thoroughly before transferring material to another container for pigment addition — again, one minute per gallon applies.

Skipping proper agitation leads to uneven mixing and inconsistent liner quality.


Application Techniques That Improve Results


9. Apply Primer at the Correct Mil Thickness


Primer application sounds straightforward, but the details matter. You must apply primer at the recommended mil thickness for proper adhesion. Too much primer means the liner won’t bond correctly — and failures will follow.

Environmental conditions like heat, cold, and humidity can all affect how quickly primer cures and how easy it is to work with. Mixing too large a batch at once can also increase labor time.

If you’re prepping plastics, vinyls, fiberglass, or existing bed liners, use Rhino Linings’ adhesion promoter designed for those surfaces.


10. Sand and Prep All Edges


Edge prep is a detail that separates good applications from great ones. Sand all fiber or wire tape edges before applying any coating. Then wipe those edges down with acetone — especially when using Rhino® Bonding Agent.

Unsealed or improperly prepped edges are a common starting point for peeling and delamination. Taking a few extra minutes here protects the entire liner.

Try this: Make edge prep a checklist item that gets signed off before spraying begins.


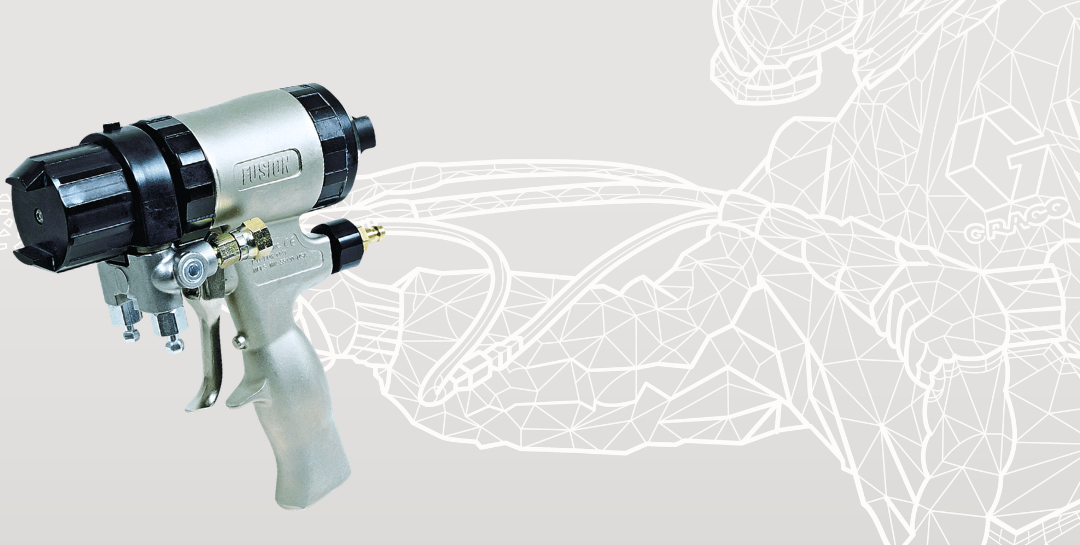
11. Shut Down Guns the Right Way


Proper gun shutdown is about protecting your equipment for the next use. Before capping or greasing the gun tip, follow all low or high pressure shutdown and purging steps specific to your equipment.

This process seals out air and prevents both chemicals from making contact at the tip — which leads to clogging. A clogged tip on the morning of a job is a frustrating and avoidable problem.


Finishing Strong: Protecting the Final Product


12. Apply UV Topcoat on All Colored Liners


Any liner sprayed with color needs a UV topcoat. Without it, the color will fade over time leaving customers unhappy and your reputation at risk.

A UV topcoat protects against sun exposure and extends the life of the liner’s appearance. The one exception is Rhino Solarmax, which does not require a UV topcoat.

Don’t skip this step on colored jobs. It’s the difference between a liner that looks great for years and one that fades within months.


Putting It All Together


High-quality bed liner applications come down to consistent habits across every stage, from storage and equipment maintenance to surface prep and finishing. Here’s a quick recap of where to focus:

  • Maintain proper chemical storage temperatures to protect product performance
  • Run daily and weekly equipment checks before small issues become big failures
  • Follow drum agitation and recirculation protocols for consistent material quality
  • Prep surfaces thoroughly, including edges, before any coating is applied
  • Always finish colored liners with a UV topcoat to ensure long-term satisfaction

Start by auditing your current process against these 12 tips. Identify the two or three areas where your routine has gaps, and tighten those up first. Small improvements in daily habits lead to measurable improvements in liner quality and happier customers!


Have an application tip, technique, or strategy that works well in your shop? Submit it via email for possible inclusion in a future editions of the newsletter, Surface Matters.

Are You Ready for Winter’s Impact on Your Operations?

Are You Ready for Winter’s Impact on Your Operations?

Last year’s extreme winter conditions caused significant disruptions for many businesses. Due to extremely cold temperatures and poor road conditions or closures, many of you experienced delivery delays and received isocyanate that was cloudy or frozen. Avoid the winter blues! Order your chemicals on Mondays or Tuesdays so that your shipment does not sit in a cold freight terminal over the weekend. If you don’t have a drum band heater already, now may be a good time to buy one in case you need to heat your material before use (please see heating procedure below).

The Process

  1. Inspect drum to ensure that there is no physical damage.
  2. Wear proper eye protection, nitrile gloves and chemical suit when working with isocyanates.
  3. Remove the ¾ inch bung and attach a desiccant dryer cartridge to help relieve any possible pressure created during heating.
  4. Attach a drum band heater to the lower third of the drum.
  5. Set the drum band heater to 8 to 10 on the dial indicator. The band heater needs to be able to heat to 150°F.
  6. It will take from 8 to 10 hours to thaw a fully frozen drum. Partially frozen drums will not require as long.
  7. Allow the reheated material to come back to 80°F before using otherwise the gelling reaction of your product will be very fast and may cause problems if spraying with low pressure equipment and a static mixer.

Stay Safe

Remember your training and always follow correct procedures on the job. If you aren’t 100% sure about how to do something safely, our experienced technical service representatives are here to assist. Feel free to contact the tech team whenever you need our help.