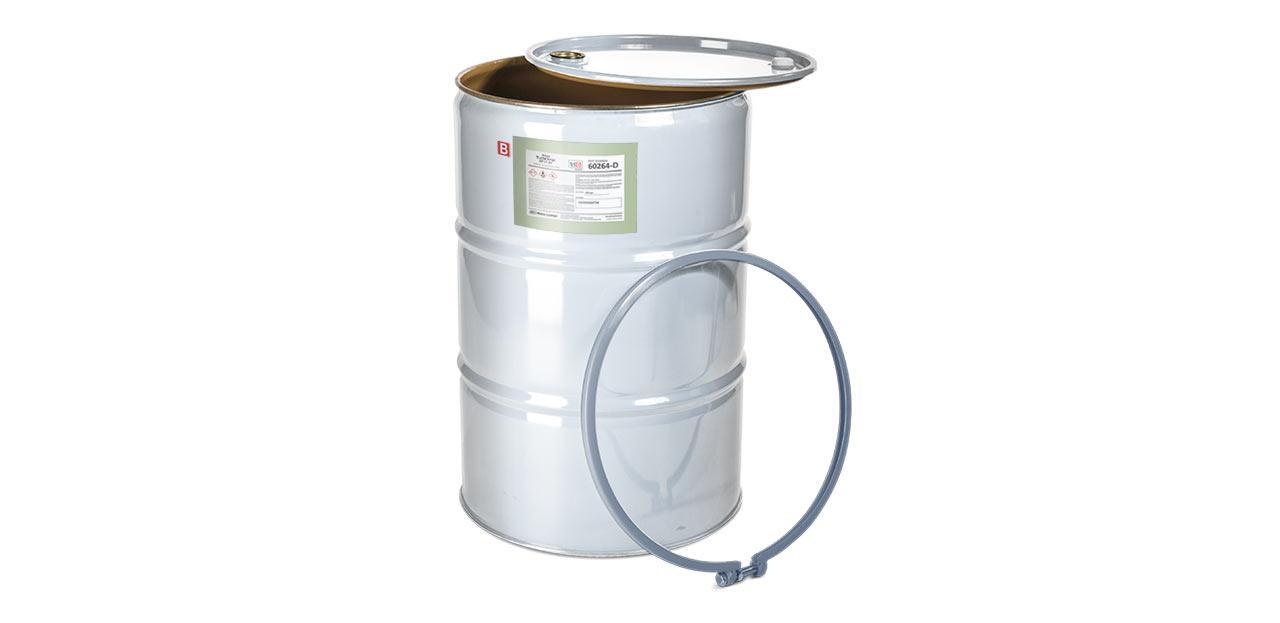
Step 1 – Place the new Resin drum into position on the B-side of the machine (blue label side).
- Once the Resin drum is in place, remove the bolt by using a 13mm socket and an impact gun
- Slide the collar down the drum
- Remove the lid
Step 2 – Using a ½” drill with the Jiffy Mixer attached, mix the bottom of the resin drum thoroughly bringing all the settled resin back up into suspension.
- Mix thoroughly for 5-10 minutes
- After mixing, unplug the drill then wipe all the excess resin product of the Jiffy Mixer before placing the Jiffy Mixer into a 5 gallon bucket, and setting it aside
Step 3 – Reinstall your drum pump and recirculation lines into the new resin drum.
- Bring up the collar, and tighten up the bolt using the same 13mm socket and impact
- Mix the drum after using the agitator for 30-45 minutes
Note: HAND MIX EVERY NEW RESIN DRUM PRIOR TO FIRST USE. AGITATE DAILY AFTER FIRST USE, NO NEED TO HAND MIX.
Tools required
- ½” electric chucked power drill
- 50 gallon Jiffy Mixer (PS-2 model)
- 13mm socket and impact gun
- 5 gallon bucket
The unique thing about using a removable drum lid setup is that you can keep your resin drum pump and recirculation kit ALWAYS attached to the drum lid. Then just swap out the entire lid from drum to drum.
*This article was originally published in 2017. The video below was added on 06-07-2021


5
0.5